



Punch Pin Galling Prevention: Clearance, Finish, and Coatings
Galling happens when metal from the workpiece adheres to the punch tip during shearing, leaving a rough buildup that scratches parts, dulls the cutting edge, and shortens tool life. The fix depends on which type of galling you're dealing with — clearance, surface finish, and coatings each solve a different piece of the problem, and using the wrong one wastes time and tooling budget.
This guide picks up where a broader punching dies guide (inferred) leaves off. That resource covers die types, materials, and general clearance principles; here, the focus narrows specifically to why punch pins gall and how to stop it from recurring.
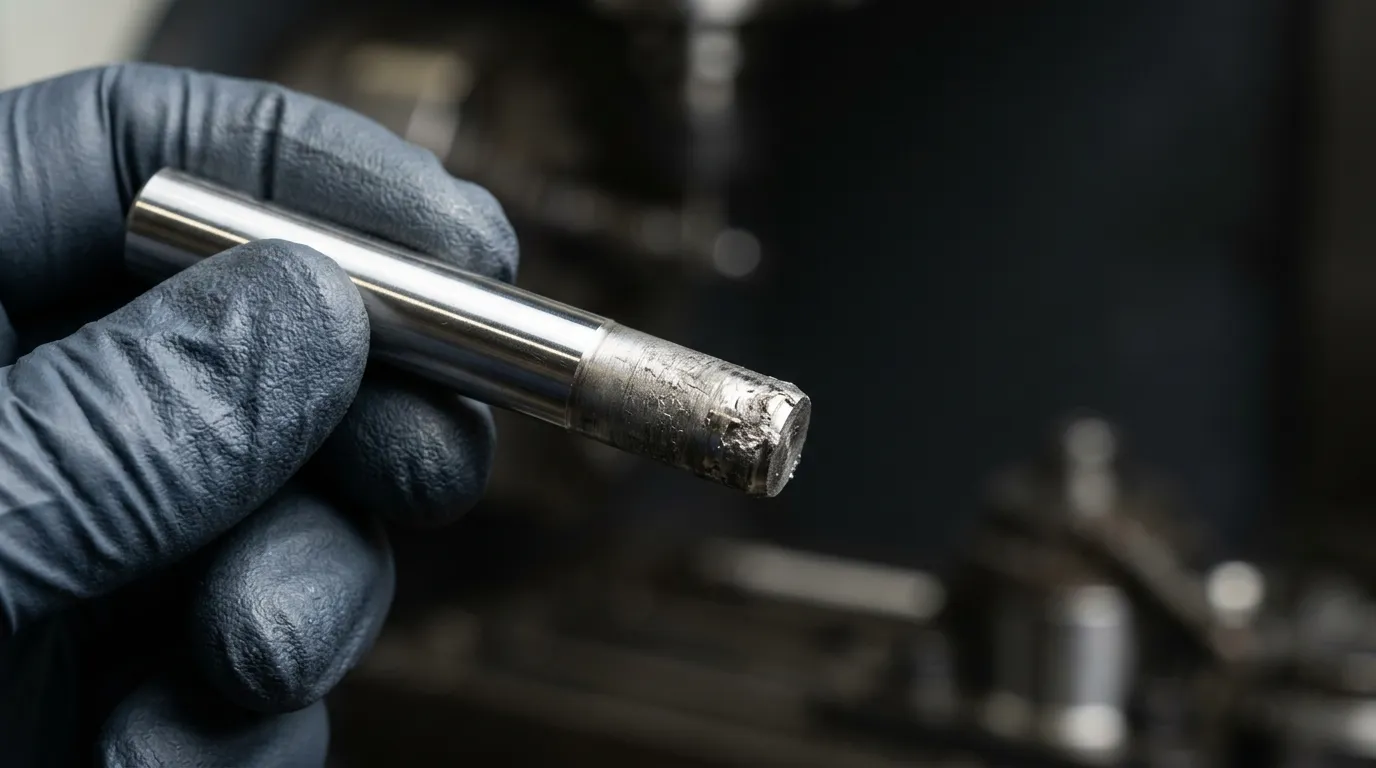
Diagnosing the Type of Galling on Your Punch Pin
Not all galling looks or behaves the same way, and the visible pattern tells you where to start fixing it.
Adhesive galling — small particles of the workpiece material weld onto the punch surface under pressure and heat, building up a rough patch that grows with each stroke.
Abrasive galling — hard inclusions or scale in the workpiece material scrape against the punch, wearing it down rather than depositing material on it.
Corrosive galling — less common, this occurs when a chemical reaction between the punch surface and workpiece (often from lubricant breakdown or moisture) accelerates surface degradation.
The Fabricator's technical breakdown of die galling failures notes that adhesive galling is the most frequent type in stamping operations, largely because friction and localized heat are difficult to eliminate entirely in high-speed punching.
If you're also seeing stripping problems — parts hanging up on the punch instead of clearing the die — that's usually a downstream symptom of galling that's already progressed past the early stage. Insufficient or incompatible lubricant often makes any of these three types worse, so checking lubricant condition is a reasonable first step before adjusting the tooling itself.
If the punch tip is chipping or cracking rather than building up material, that's a separate failure mode — see punch breakage in stamping dies for that diagnosis instead.
Setting the Right Die Clearance to Prevent Galling
Clearance is the single most commonly cited fix for galling, and for good reason: too little clearance increases contact pressure and heat, which is exactly what drives adhesive galling.
Clearance requirements shift with material hardness and thickness. Mate's galling prevention guidance points to a combination of increased die clearance and a small back taper — typically around 2° total, split evenly per side — as an effective remedy when galling is persistent rather than occasional.
| Material Type | Typical Clearance (% of Stock Thickness) | Notes |
|---|---|---|
| Mild steel | ~10% | Baseline industry rule of thumb per Moeller Punch |
| Stainless steel | 15–20% | Higher hardness increases friction and heat |
| Aluminum | 8–12% | Softer material but prone to adhesive buildup |
| Galling-prone applications | 20–30% | Combined with back taper per Mate's tooling recommendations |
Back taper works by reducing the contact area between the punch flank and the sheared edge as the punch travels through the material, which lowers the friction that drives adhesive buildup. This is a geometric change to the punch itself, not just a die adjustment, so it's worth discussing with whoever handles your tooling specification.
Tool steel hardness also plays a role here: harder steels resist the surface deformation that starts adhesive galling, but very hard, brittle steels can be more prone to abrasive wear if the workpiece contains hard inclusions. Matching hardness to the specific failure type you diagnosed earlier matters more than simply choosing the hardest available steel.
Improving Surface Finish to Reduce Galling
A rougher punch surface gives workpiece material more microscopic points to adhere to, so improving finish directly reduces adhesive galling risk — and it's also how you remove galling that's already present.
For removing existing buildup, the process generally follows these steps:
Inspect the punch tip under magnification to confirm galling rather than chipping or wear.
Stone or polish the affected area lightly, working in the direction of the original finish rather than across it.
Re-measure the punch profile to confirm dimensions haven't drifted from the polishing.
Reapply lubricant appropriate to the workpiece material before returning the punch to service.
Sunshine's punch and pin manufacturing supports surface finishes as smooth as Ra0.4, which is a relevant benchmark if you're specifying a replacement or reworked punch pin rather than hand-polishing an existing one.
For punches that have galled repeatedly despite polishing, a full regrind may restore geometry more reliably than spot polishing — punch pin sharpening and regrinding covers when a regrind is the better option versus a quick polish.
Choosing a Coating for Galling Resistance
Coatings reduce the friction coefficient between the punch and the workpiece, which helps prevent the localized adhesion that starts adhesive galling. But they work best as a supplement to correct clearance and finish, not a replacement for them.
| Coating Type | Primary Benefit | Typical Trade-Off |
|---|---|---|
| TiN (Titanium Nitride) | Good general-purpose hardness and friction reduction | Less effective against severe adhesive galling on abrasive materials |
| CrN (Chromium Nitride) | Better resistance to adhesive wear on stainless and aluminum | Slightly lower hardness than TiN |
| DLC (Diamond-Like Carbon) | Very low friction coefficient, strong adhesive-galling resistance | Higher cost, more sensitive to substrate finish quality |
A caution worth taking seriously: as noted in industry commentary on surface coatings for draw steels, applying a coating over a punch with incorrect clearance or a poor base finish often just delays the problem rather than solving it. Coating a punch that's already galling from bad clearance can mask the symptom for a short run before the underlying issue reappears.
Heat treatment is a related lever worth mentioning here: Sunshine's heat treatment process increases hardness by roughly 30%, which improves impact and wear resistance independent of any coating applied afterward. That's a useful option to raise with a supplier when a punch needs both better hardness and a coating.
Maintenance Checklist for Early Galling Detection
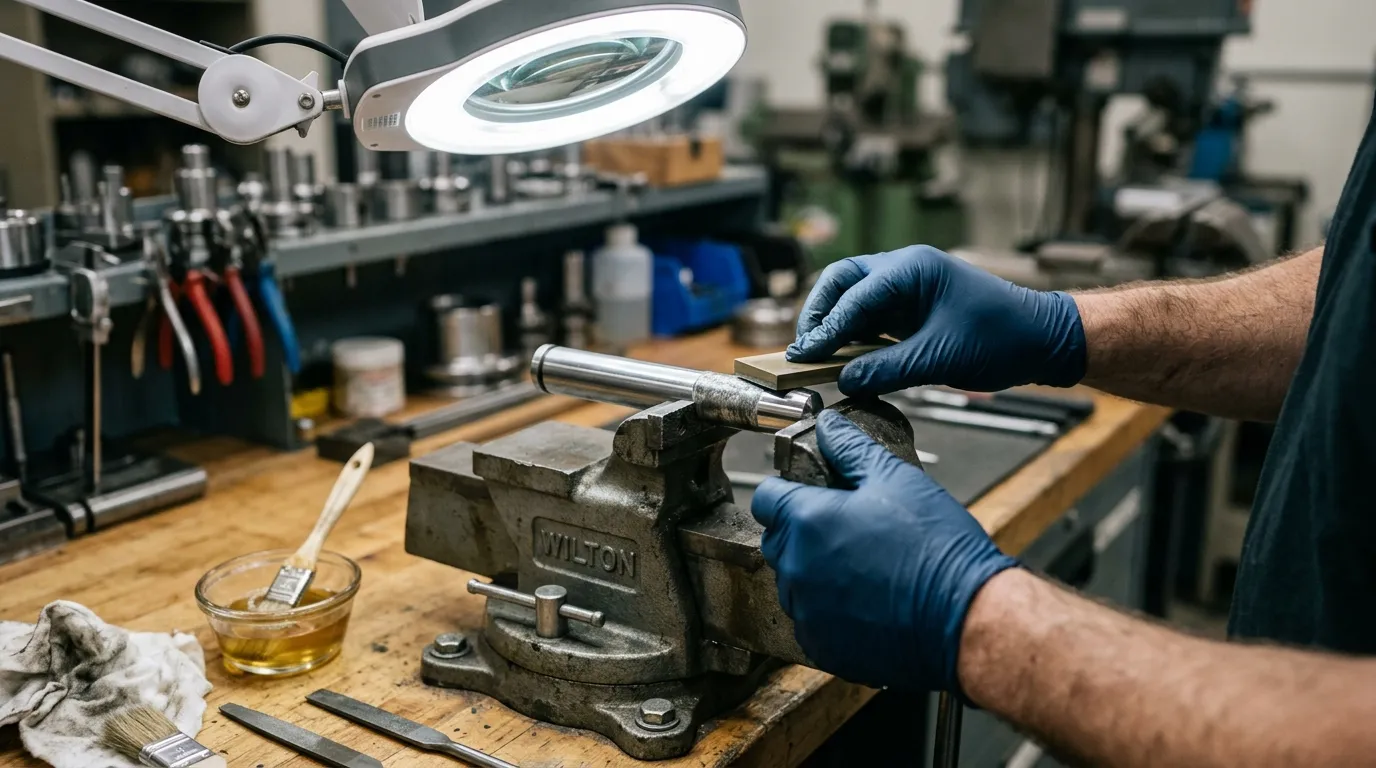
Catching galling early keeps a polish job from turning into a full regrind or replacement. Build these checks into routine tooling inspection:
Inspect punch tips visually every scheduled changeover, looking for a dull or rough patch near the cutting edge.
Track part quality — burrs, rough hole edges, or inconsistent stripping often show up before galling is visible on the punch itself.
Confirm lubricant type and application rate match the current workpiece material, especially after switching stock.
Re-check die clearance after any regrind, since repeated sharpening gradually changes the punch profile.
Flag punches that gall repeatedly on the same material for a clearance or coating review rather than repeatedly polishing the same spot.
If you're evaluating how a punch pin fits into the broader tooling assembly, the die components guide covers how punch pins interact with guide bushings and other components that also affect alignment and wear.
Persistent galling despite correct clearance and finish is usually a signal to discuss a coating or a specification change — that conversation is easiest with a supplier who can quote both the regrind and the coating option together, so you're not solving the problem in two separate steps.
Share:


Written By Tonmoy
NEWS
GET SERVICE
With quality parts to meet every budget and friendly staff trained to make your visit informative and hassle free.
